VIOLA JOURNAL PAGE 3 |
||
 |
||||||||||
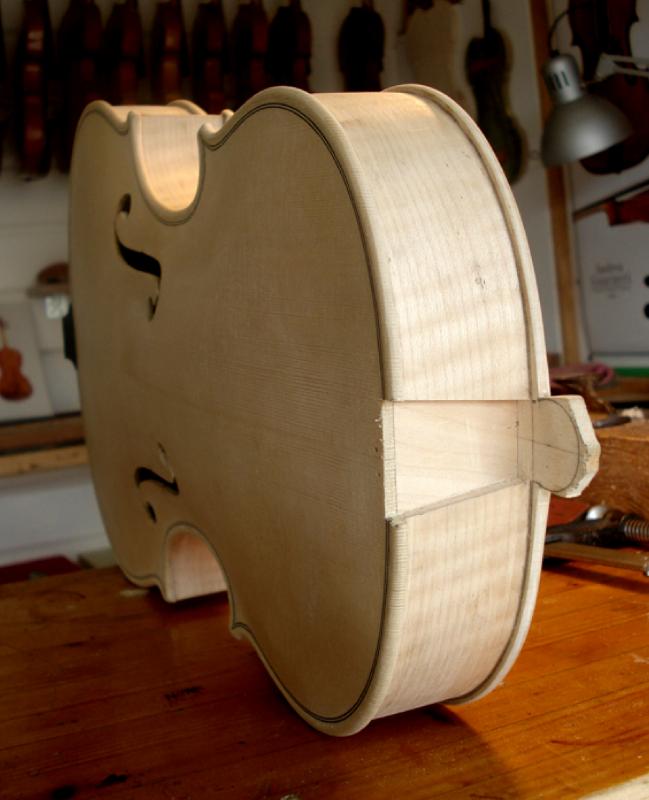
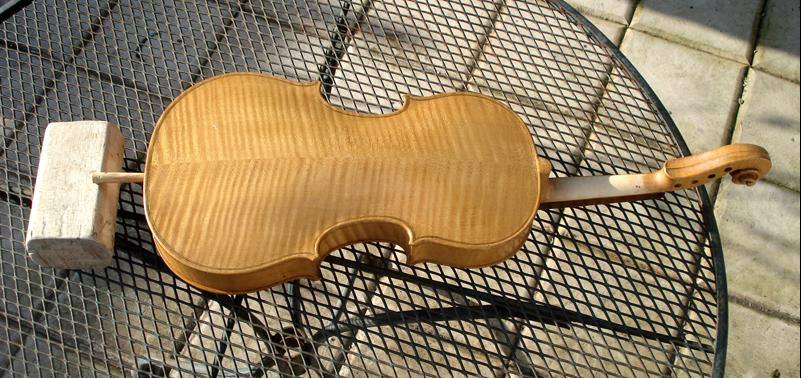
The mortice is now cut into the top block, ready to accept the neck. |
||||||||||
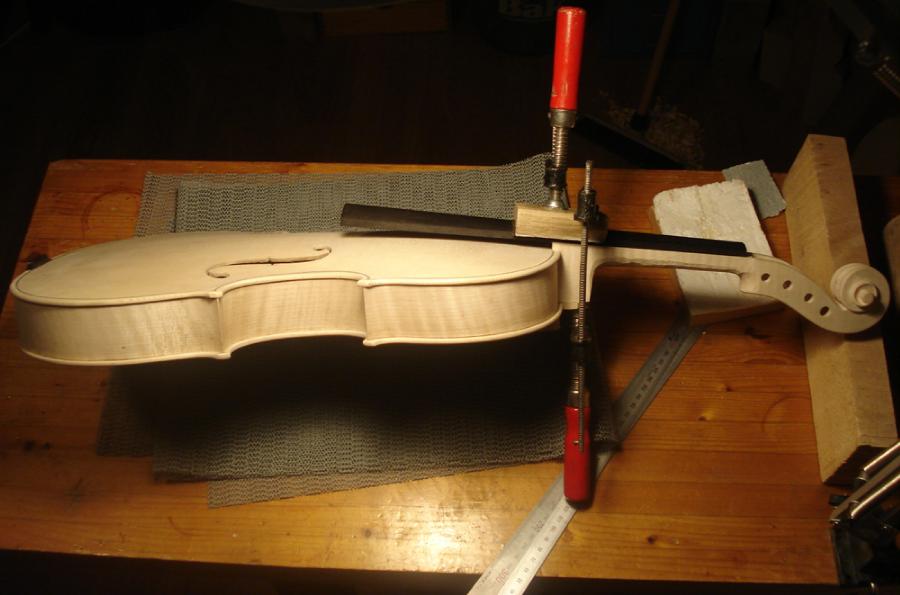
After double checking that the neck is perfectly centered, correctly angled for bridge height, slightly tilted toward the treble side, and fits tight to the mortice sides, bottom and against button, I quickly brush on a healthy amount of hot hyde glue and clamp. When those clamps come off, I'l pick up this viola from it's neck and feel for the first time how the completed instrument balances in the hand. |
||||||||
 |
||
 |
||
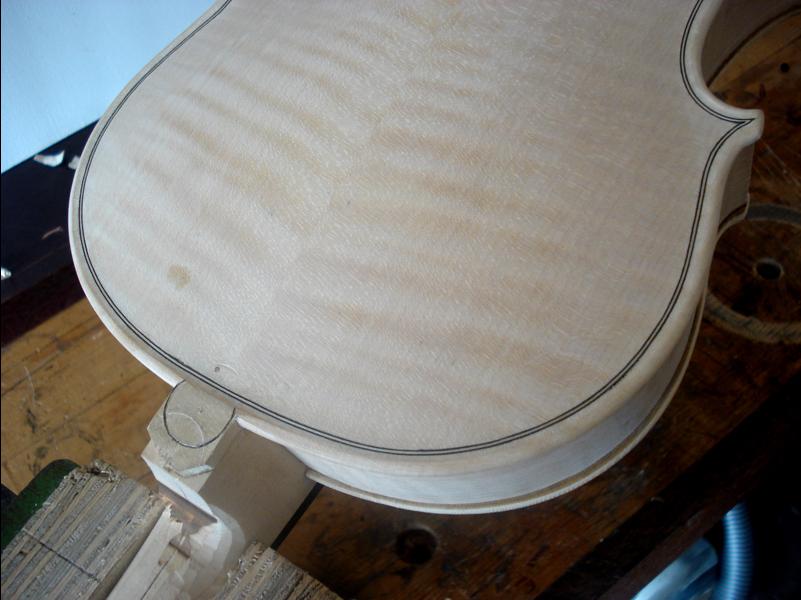
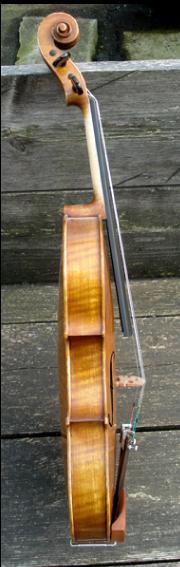
The final maple task is to carve the shape of the button into the neck heel and from there, up into the neck itself. Working first with a chisel, then moving to a rasp, a file, then finer and finer grades of sandpaper before finishing with steel wool. When the neck is well shaped and smooth, suddenly the viola feels like a finished instrument. |
||
 |
||
 |
||
 |
||
 |
||
 |
||
 |
||
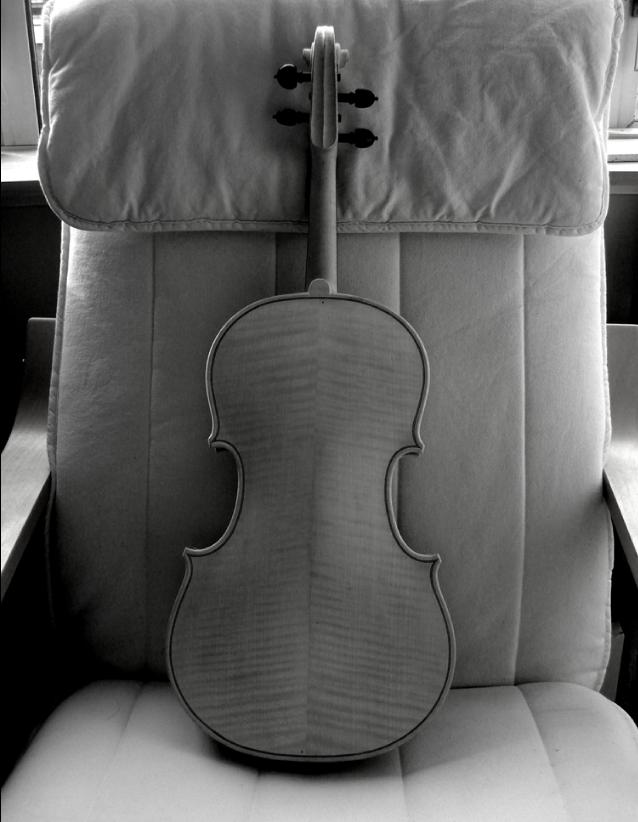
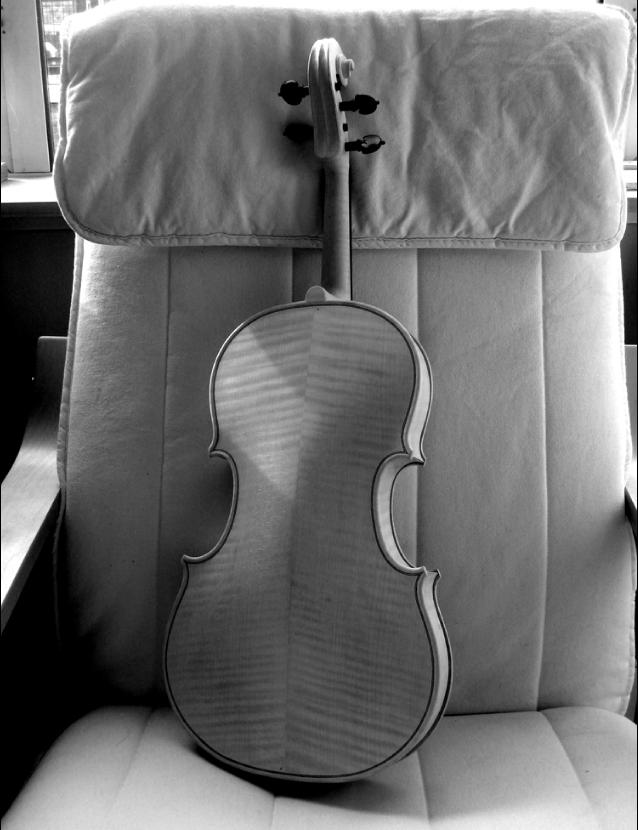
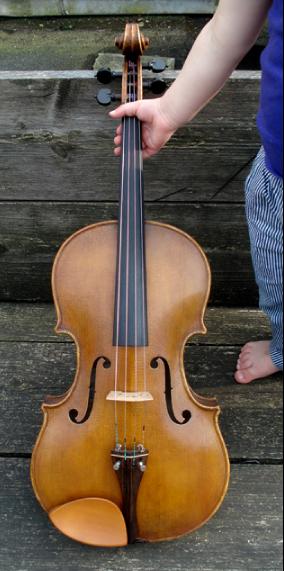
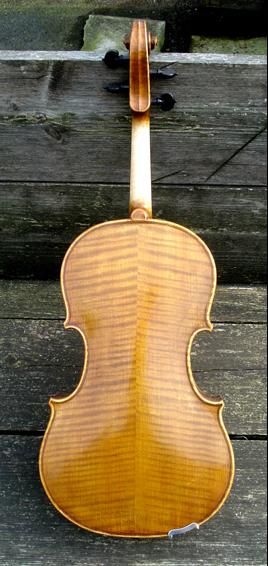
After sealing the wood and applying a golden ground coat, this is the result after one coat of the linseed oil/colophony varnish that I cook on the terrace. I'm very pleased with how the flames on back have come to life. |
||
 |
||||||||
 |
||||||||
 |
||||||||
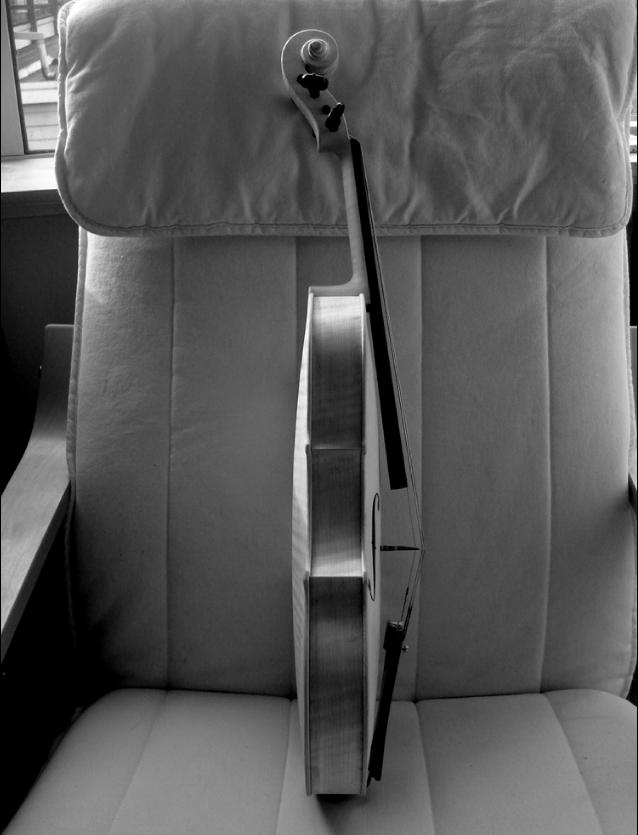
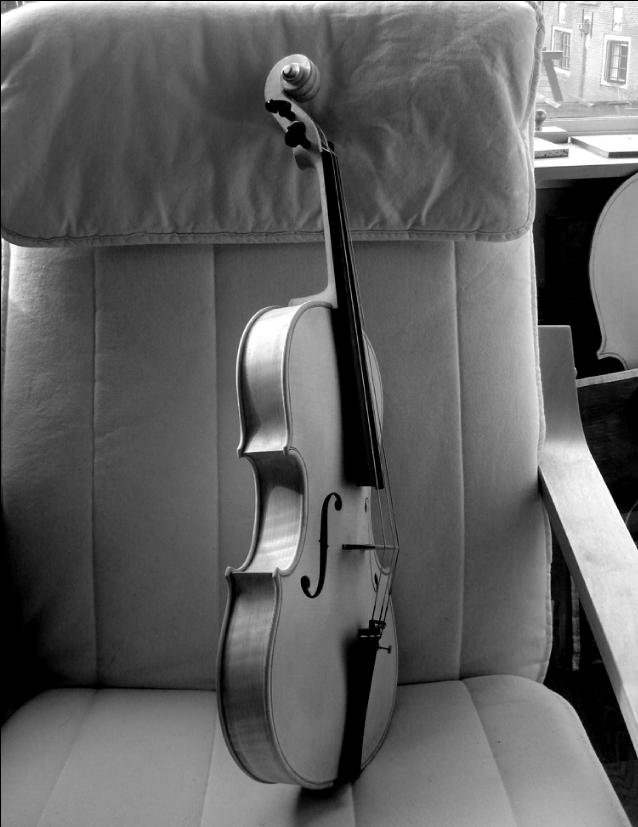
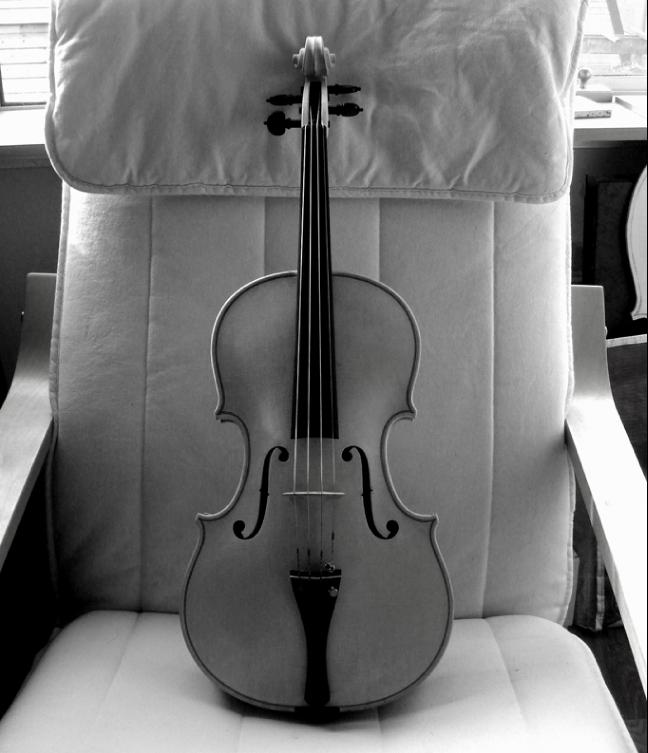
After another two coats of varnish, I'm satisfied. |
||
00 |
||