CELLO JOURNAL PAGE 2 |
||
 |
||||||||||
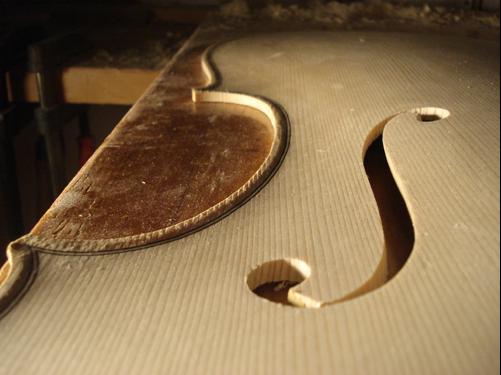
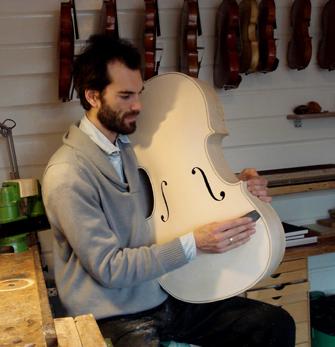
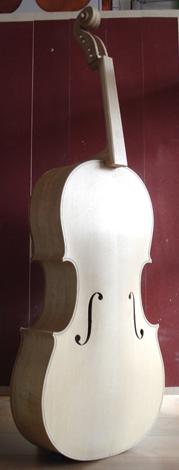
Purfled top! The fluting around the edge is also complete, including the smooth transition between it and the rest of the plate's arching. This is when the area around the f-hole really comes to life. You can see through the f-hole that the plate thickness is still unfinished. When I'm satisfied with the arching I'll flip the top over and carve/scrape it to it's final thickness. |
||||||||||
 |
 |
|||
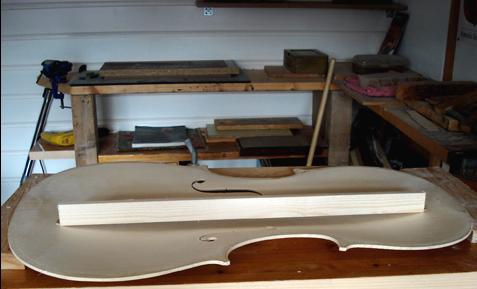
Once this plank of spruce has been carved and glued to fit the complex curve of the top's inner arching, it is called the bassbar. It passes under the bass foot of the bridge, helping to support the top against the surprisingly heavy pressure applied down through the bridge by the strings. The treble foot of the bridge is supported and practically immobilized by the soundpost, allowing the bridge to lever from this soundpost side and rock the entire bassbar up and down, transmitting large movement vibrations to the entire top. Without the supporting functions of the bassbar and soundpost the top would need to be extremely thick to avoid sinking under the pressure. This clever solution evolved to allow the top to be thin enough for a sensitive acoustic responsive while also distributing the vibrations from the strings to the entire body. |
||
 |
||
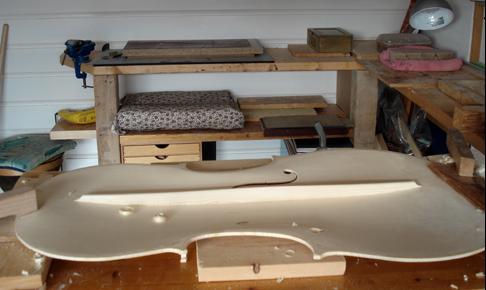
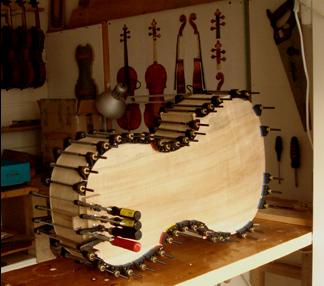
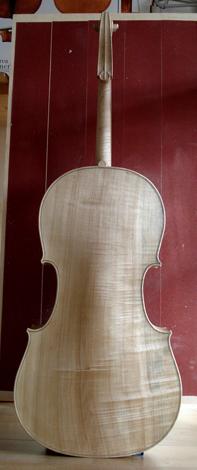
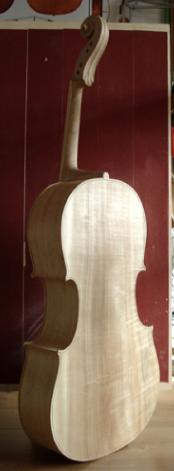
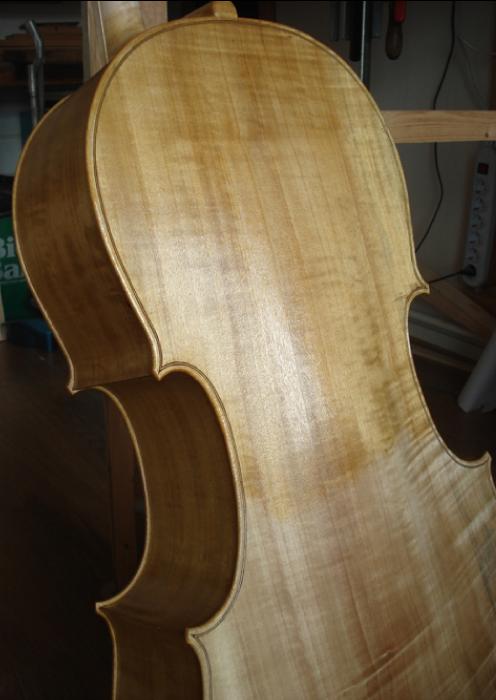
A trail of shavings from shaping the bass bar lead to the reassembled cello "boat", this time with purfling and fluting. I've also refined and rounded the edges of the back, softening the outline just enough to be pleasing to the eye and touch. I prefer the edge not to be overworked and like to keep a certain bold squareness to it's character. |
||
 |
||||
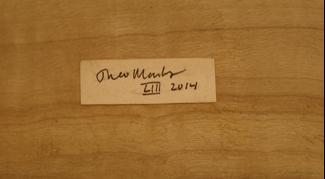
Before gluing the top onto the rest of the cello I always try to remember that this is the last convenient moment for me to insert my label. I glue it in the traditional place, upon the inside of the back, placed to be visible when looking through the top's bass f-hole. I've recently run out of the printed labels that I used for the previous 50 instruments, and after a few attempts to design a new one, I've decided to handwrite them from now on. I feel more of a connection to my handwriting than to any font I could find. This is the 53rd instrument I've made, hence the roman numeral LIII. |
||||
 |
||||||||||
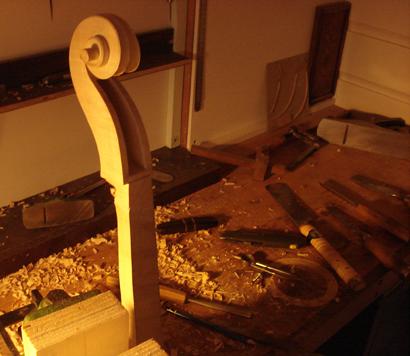
Now that the top is gluing on, it's time to turn my attention to the scroll/neck. |
||||||||||
 |
||||||||||||
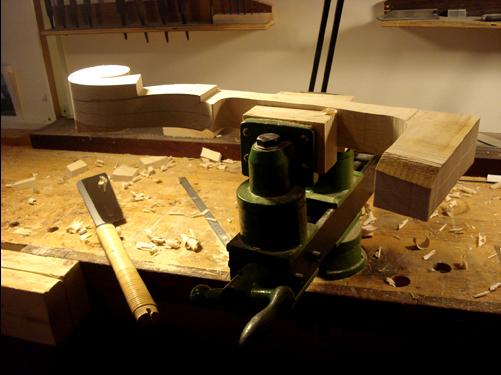
I nearly always wait to start carving the scroll of an instrument until the body is basically finished. It's become important for me to have already seen the overall character of an instrument's sound-box before ornamenting it with a scroll. It isn't as direct as trying to mirror aspects of the instrument's corners or f-holes or arching into the curves of the scroll, rather, it's just working on the scroll with an awareness of the initial impression that the instrument's body has made on me. There is a bold robustness to this cello that would border on the rugged were it not so clearly inspired by the classic Stradivari forma B and Brothers Amati f-holes. The outline of the scroll conforms closely to Stradivari's model, although slightly compressed to give a broader impression. I begin by scribing a line directly down the middle of the entire scroll/neck. Here, you can see the design of the pegbox penciled on and then cut with a japanese saw. |
||||||||||||
 |
||||||||||||
 |
||||||||||
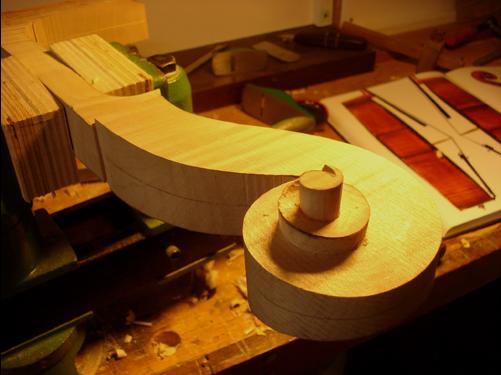
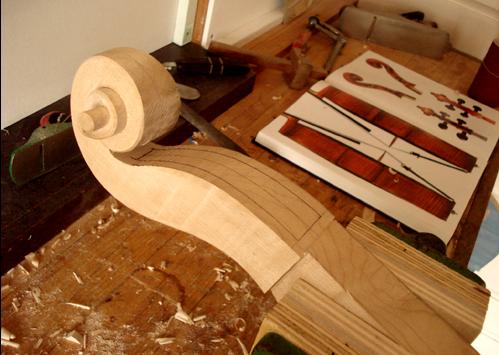
I don't use a template to determine the turns of the scroll's volute. Instead, I draw the spiral free hand and then stay well clear of the line when making the initial cuts. When both sides are roughly formed, I choose the aspects I like best of both and carve them to match one another. It might sound more complicated than simply following a template, but it proceeds in an organic manner and is achieved with surprising efficiency. |
||||||||||
 |
||||||||||
 |
||||
 |
||||
 |
||||||||||||
 |
||||||||||||
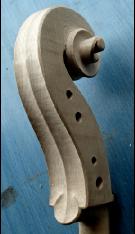
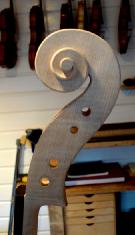
When the turns of the volute look right, I apply a chamfer to the edges of the entire scroll. Then it's time to hollow out the pegbox, the only truly functional part of the scroll. The carved cavity must be wide enough to allow for easy access to the peg dowels when stringing, while the walls need to retain enough strength to support the persistent pull of four metal-wound strings. When the hollowing is complete, I carve fluting into the back of the pegbox and continue it around the volute and down into the throat. These two channels work to tie together the sculptural qualities of both the volute and the pegbox. Finally, I drill and taper the peg-holes. The cello in the background is the very impressive "Batta-Piatigorsky" Stradivari. Another forma B. |
||||||||||||
 |
||||
 |
||||
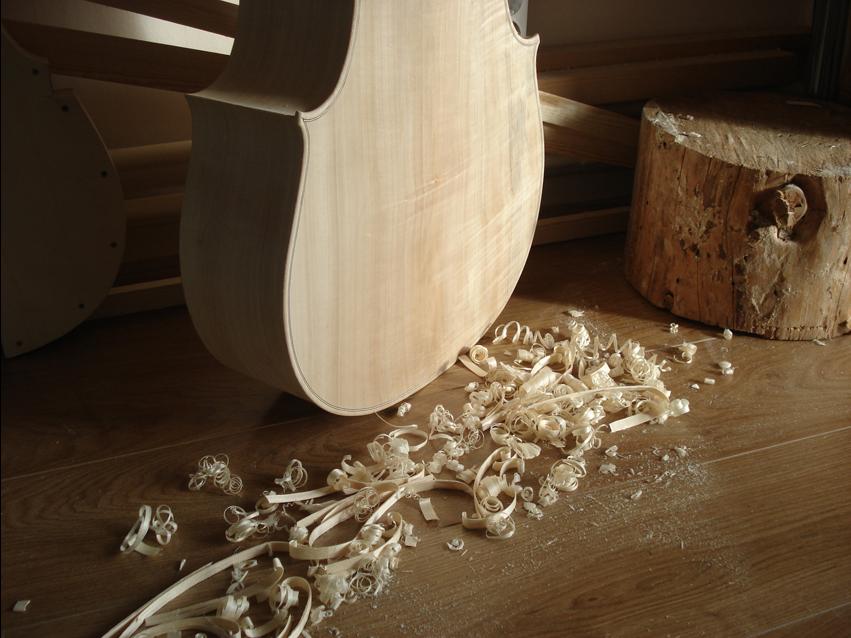
Now that the gluing clamps are off, I pick up the completed body for the first time and give it a final scraping, cleaning up any bumps in the edgework or fluting. I've used this scraper for years on violins, violas and cellos. The rounded off corners have slowly evolved through repeated sharpenings to a radius that works well for how I want my edgework. It is quite flexible and bends easily, allowing the straight side to be used when working on arching. |
||
 |
||
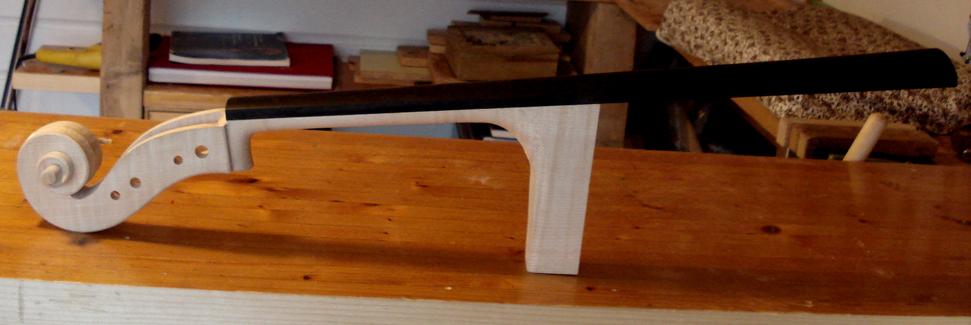
The fingerboard is temporarily glued on while shaping the neck. The complex curves connecting the pegbox heel to the neck and then into the neck heel are quite possibly the most important aspects of the entire construction when it comes to determining how one engages with the instrument. If it doesn't feel just right, it can severely restrict the conversation that needs to develop between musician and instrument. |
||
 |
||||||||||||||
 |
||||||||||||||
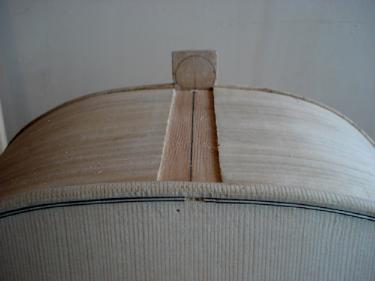
Neck-mortice before and after. |
||||||||||||||
 |
||||||||||||||
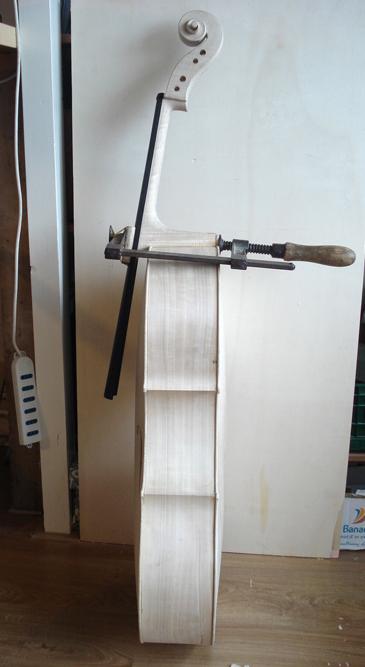
The oldest clamp in my workshop has the responsibility of finally joining neck to body. |
||||||||||||||
 |
 |
 |
||||
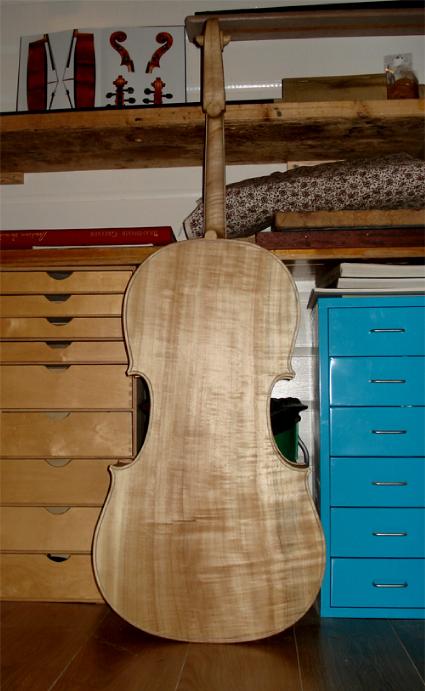
After letting the glue harden overnight, first thing in the morning, I remove the clamp, take the cello by it's neck and gently lift it off of the ground. I shake it around a bit just to feel it's completed weight and balance(without bridge, soundpost, pegs, tailpiece, endpin, strings and varnish....). I give the whole instrument a quick final inspection, looking for any wood that doesn't belong, then the fingerboard is removed and it's time to begin the varnishing process! |
||
 |
||||||||||
Before I begin varnishing, I prepare the wood with a few coats of diluted animal glue(acqua di colla). This helps acccentuate the grain and will prevent the oil based varnish from entering and staining the wood. I also believe that this stiffens the wood's structure. Renato Scrollavezza, my maestro in Parma , used to brush this diluted glue mixture onto scraps of cotton cloth, and when these dried hard and crispy, would crumple one by my ear and whisper, "senti?"(do you hear?) |
||||||||||
 |
||||||||||||
 |
||||||||||||
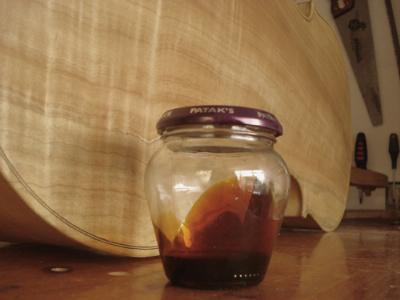
Like most luthiers, I've conducted my share of varnish experimentation. From the beginning, I've limited myself to using only ingredients readily available and processes that don't require any equipment more complicated than either a camping stove or an electric hotplate. My objectives are: 1) a varnish that protects against excessive wear, dirt and decay while enhancing the natural beauty of the wood; 2) a varnish that increases the focus and refinement of the instrument's tone. For the last dozen or so instruments, I've used the same very simple varnish recipe. A violinmaker friend of mine living in the mountainous area near Trento, Northern Italy, supplies me with fresh resin tapped from the local larch trees. I heat this fragrant, slightly opaque, honey-thick resin at a constant temperature for many hours, until most of the terpenes have been smoked out and the color reaches a deep golden-ruby amber. When still hot, I add cooked linseed oil until the mixture remains thick but viscous at room temperature. To this, I add terpentine sparingly to aid in it's application. With no added pigment, this is my ground layer. |
||||||||||||